New items are created via the Import menu, using a manually filled table or copied from an XLS file.
Preparation
Before importing, all the classification elements used must already exist in the application. If they're missing, add them to the Classification menu first. Required items can be: Brand, Category, Subcategory, Season, Gender, Size, Supplier, Color.
Table Completion
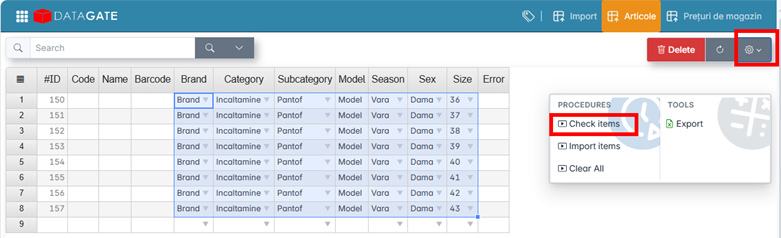
The Import window displays a table with the same columns as the XLS file to import. You can fill in the rows directly in the app or by copy-pasting from XLS.

You copy the classification from XLS and paste it into the table. If the items already have barcodes, you fill them in the Barcode column. If not, the app can generate them automatically.
Verification and correction
From the Settings menu, click Check Items. The application validates the introduced classification against existing nomenclatures.
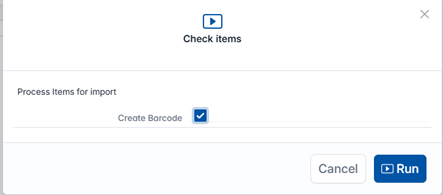
If you want new barcodes, check Create Barcodes in the window that appears, then click Run.
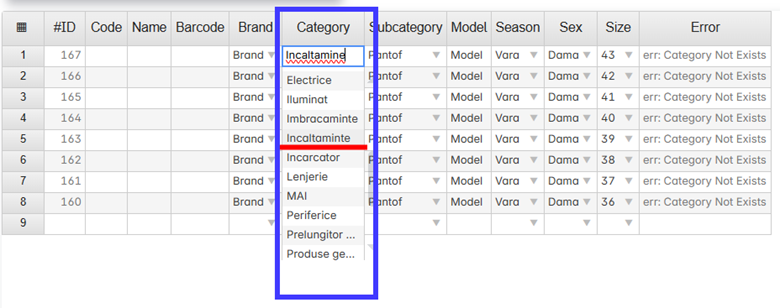
Errors are displayed in the Error column. Example: You typed Shoes instead of Shoes — the app indicates that that category doesn't exist. Select the correct option from the available list.
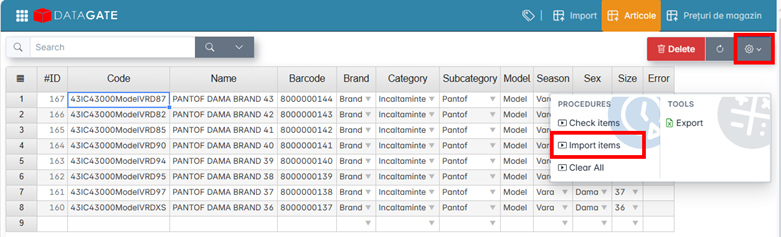
After the corrections, run Item Check again. If there are no more errors, the app automatically generates the item code, name, and barcode.
Amount
From the Settings menu, click Import Items. Items are added to the nomenclature.
To delete the data entered in the table and start from scratch, tap Delete All in Settings. The operation clears the window without affecting items already imported into the BOM