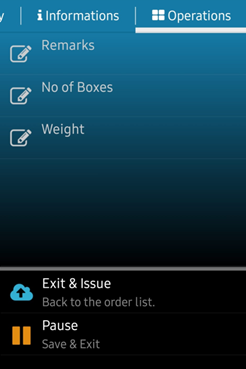
The scan menu has four working sections: Scan, History, Information , and Operations.
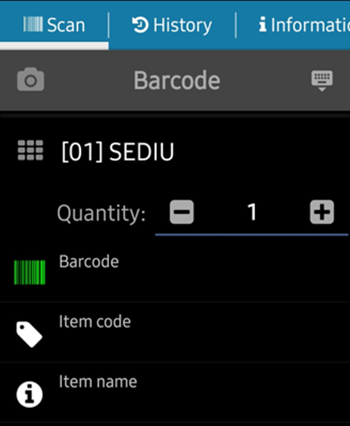
Scan
To start scanning, select the document from the list. In the case of free scanning, press the Plus key to create a new document.
Items are scanned one after the other. On each scan, the default amount is 1. To change the quantity, press the + or – keys next to the Quantity field, or type the desired value directly. The quantity is applied to the current item — when the next item is scanned, it is reset to 1.
How it works: scan → enter the quantity (if it differs from 1) → move on to the next item → scan.
If you scan an unknown barcode (the item doesn't exist in the item list), you'll hear an error beep.
History
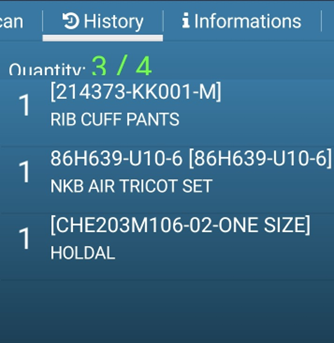
Displays items scanned so far — quantitatively and in detail. Useful for checking during scanning: if you are unsure of a quantity entered or if an item has been deleted or marked as defective.
Information
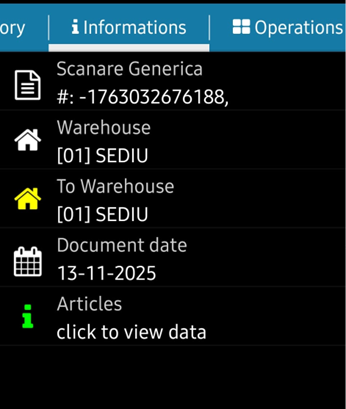
Displays the details of the current order or document. The Show What's Left to Scan key shows the list of items remaining to be processed. The list updates after each scan.
Items can also be added manually from the Info window — select the item from the list of remaining to be scanned (requires ICS setting).
Operations
Actions available on the current document: save, send to the server, validate, block, invalidate — detailed in the pages specific to each type of operation.