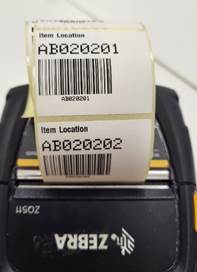
With the help of the ICS application you can assign locations to items in the store/warehouse. Here are the steps:
· Label your store's storage space with location barcodes.
· Scan the assigned location and the item that belongs to it.
You can use the location feature by:
· Scan an item, and the scanner will show the location for this item and related items (of different sizes).
· scan a shipment, and the scanner will show you the next item and its location (guided scanning).
For tagging locations, you have two options:
· label them with a large zebra printer,
· labeling them with the in-store scanner and printer by printing multiple locations.
Item Location
Scan the item's barcode to see where it's located.
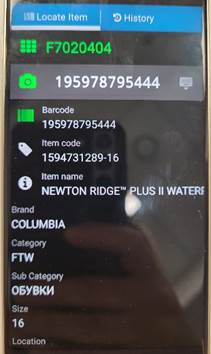
Assign your location
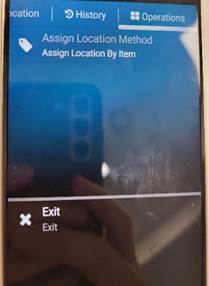
On the Operations menu, set the method for assigning the location, either by root code or by item.
Recommended is by root code.
If you select by root code, all items that match that root code (items with size) will be assigned to that location.
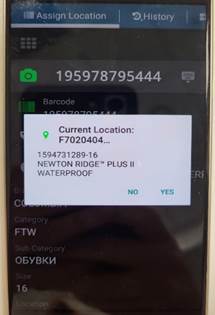
To assign an item to a location or change the current location of an item, scan the location and then scan the item.
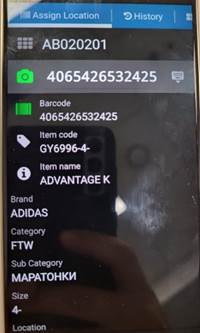
After scanning the item, select Yes or No to save the current location.
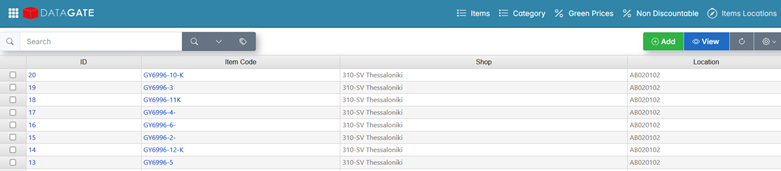
After syncing the scanner, item locations can be seen in Datagate in the Items - Item Locations menu.
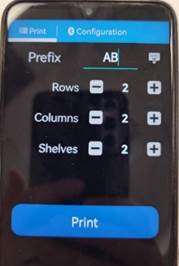
Printing Location Labels
To print location labels, add the prefix and select the number of rows, columns, and shelves.
Establish from the beginning the prefix, number of rows, columns and shelves for each area/location.
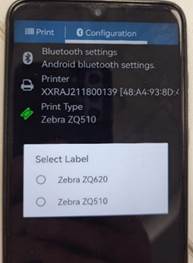
Under Setup to Print Type, select the printer type.
Example of the location labels.